Checkin Record Display
NOTE
If your library uses monographic holdings, checkin records are called holdings record. See Creating Holdings Records for more information.
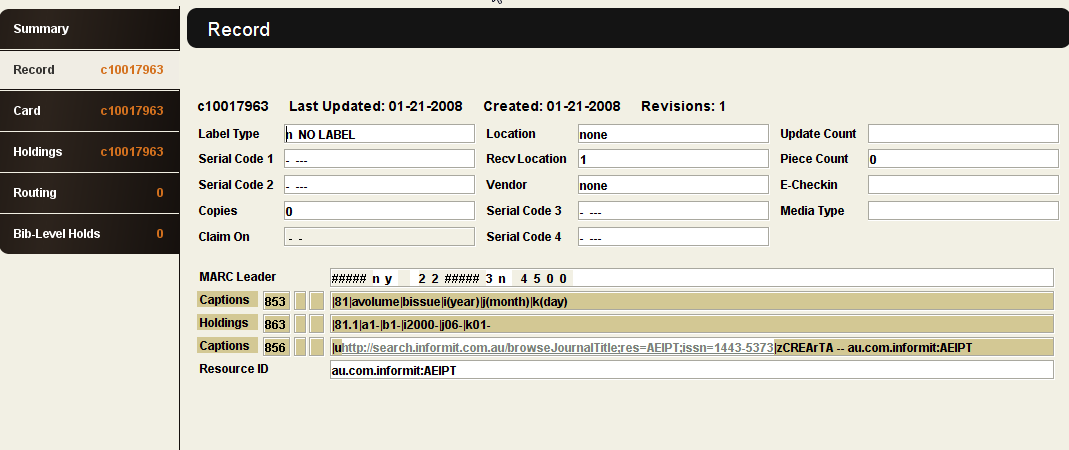
The Record tab of a bibliographic record displays the currently selected checkin record when the Record type drop-down list is set to Checkin. The Checkin Record fixed-length fields display in the top portion of the tab, and the variable-length fields display in the bottom portion of the tab.
Above the fixed-length fields, Sierra offers a toolbar containing the following options:
- Save
- Saves any changes you make to the record and does not exit the record.
- Edit Record
- Allows you to edit the record.
- View Record
- Allows you to view the record
- Prints the record.
- Quit
- Exits the checkin record and associated bibliographic record. Sierra prompts you to save the record if you have made any changes.
Sierra offers the Card, Holdings, and Routing tabs when you view a checkin record.
Card Tab
This tab displays the Checkin card associated with the currently selected Checkin record. The tab heading shows the record number of the checkin record. Note that the Card tab does not display if you have selected an item or order record in the Summary tab, or if the selected Checkin record is an inactive Checkin record, i.e., a holdings record.
You can perform the following functions in the Card tab:
- Check in issues
- Print serials labels and routing slips during check-in
- Backdate check-ins
- Create Item records for issues
- Modify boxes individually
- Extrapolate boxes
- Insert boxes
- Add boxes at end of card
- Delete boxes
- Update boxes as a group
- Edit the card parameters
- Delete the Checkin card
- Archive the Checkin card
- Claim issues
- Print pull slips
- Send issues to bindery
- Check in serials from bindery
- Create a checkin card
- Change the card display mode
- Print serials labels for an issue
- Move enumeration levels
- Print the Checkin card
See Display of Checkin Cards for information about the toolbar offered in the Card tab.
Holdings Tab
This tab contains the holdings information for the checkin record that is currently selected in the Summary tab. The tab heading shows the record number of the selected record.
Serials also adds a Tools menu to the menu bar when you switch to the Holdings tab.
The top of the Holdings tab contains a toolbar. The toolbar options are discussed in the Holdings Tab Toolbar Options.
Below the toolbar is the public view of the holdings statement. Serials shows you exactly how the holdings data will display to the public in the OPAC or WebPAC. The OPAC View contains three tabs - Issues, Supplements, and Indexes. You can choose a tab to view the holdings for that type of piece.
Below the OPAC View box is the Selected Range. When you click a holdings range in the OPAC View, Serials displays the LIB HAS data for that range in the Selected Range area.
If the LIB HAS field consists of
- textual or MARC data that was manually created by staff, the Selected Range displays a standard variable-length field editor. See Modifying Variable-Length Fields for more information.
- MARC data that was automatically formatted by Serials, the Selected Range displays the holdings data in the Holdings editor.
Tools Menu
The Tools menu contains options to
- Undo your changes
- Redo your changes
- insert a holdings range
- append a holdings range
- delete a holdings range
- define a pattern for the LIB HAS field
- edit a pattern for the LIB HAS field
- add a pattern for the LIB HAS field
See Holdings Tab Toolbar Options for a complete list of available menu options.
Holdings Tab Toolbar Options
- Merge with Previous
- Merges the selected holdings range with the previous range.
- Add New Range
- Allows you to add a new holdings range to the end of the holdings statement. Serials adds a new MARC LIB HAS field (an 86x field) to the checkin record.
- Delete
- Deletes the selected holdings range and corresponding LIB HAS field.
- Advanced Mode
- Allows you to view and edit the MARC tags and subfields (i.e., the 85x/86x pairs) for the selected range. See Editing Automatically-Formatted LIB HAS Fields.
- Save
- Saves the changes you have made to the LIB HAS fields.
- Quit
- Exits the Holdings tab and associated bibliographic record
Holdings Editor
The Holdings editor in the Selected Range area consists of the following elements:
- Gap break separator
- Determines the punctuation used between holdings ranges.
If you clear the check box, Serials uses a semicolon between holdings ranges. A semicolon indicates that there is a non-gap break in the holdings. For example, the library does not hold the issue because it was never published. A subfield |w with a value of 'n' is added to the 86x field of the checkin record.
If you select the check box, Serials uses a comma. A comma indicates a gap in a range of holdings. A subfield |w with a value of 'g' is added to the 86x field of the checkin record. The issue was published but it is not held by the library. - Open-ended
- Specifies whether the holdings range is complete. If you select this check box, Serials does not put an ending volume number in the range, e.g., v.6:no.1(1990)-
- From
- Specifies the enumeration level values and cover date for the first issue in the range.
- To
- Specifies the enumeration level values and cover date for the last issue in the range. These boxes are not available and are left blank if you have selected the Open-ended check box.
- Note
- Allows you to enter a note to display to the public in the holdings statement. The note displays after the enumeration and chronology for the range, e.g., v.6:no.1(1990)-v.10:no.12(1992) on microfiche
- Nonpublic note
- Allows you to enter a note for staff use only. This note does not display in the OPAC View.
- View Textual
- Adds a textual LIB HAS field, i.e., an 866 field, to the checkin record, and then displays that field along with the MARC 86x field. If the 866 field is already displayed, the button reads View Full MARC and allows you to view just the corresponding full MARC LIB HAS field, i.e., the 86x field.
- Apply Changes
- Updates the holdings statement with any changes you have made to the selected range.
- Reset
- Clears any changes you have made to the boxes in the Selected Range area. Serials cannot Reset the boxes if you have already selected the Apply Changes button.
- See also:
- How Serials Stores Holdings Data
- Editing Holdings (LIB HAS) Fields
- Editing Automatically-Formatted LIB HAS Fields
Routing Tab
This tab displays the individuals to whom this serial is routed. The tab heading shows the record number of the checkin record. Note that the Routing tab does not display if you have selected an item or order record in the Summary tab.
The top of the Routing tab contains a toolbar. The toolbar options are discussed in the Routing Tab Toolbar Options
Below the toolbar is the routing list for the serial. The routing list consists of a line for each copy of the serial; each line contains either the routing record initials or the patron record name for the individuals to whom that particular copy is routed. The names or initials of suspended routees are greyed out. You can right-click on the routing list to view a popup menu with options to edit the order of the routing list.
The routing list can display the routee's short address. Contact Innovative to enable this feature.