Working with Load Tables
Innovative strongly recommends completing Load Profile Training prior to using this functionality. Innovative offers a self-guided eLearning course and additional documentation on our Training platform.
The Load Tables function allows you to manage your organization's load tables from either the Sierra Desktop Application or Sierra Web. Depending on your permissions, you can view, edit, create, and import/export load tables.
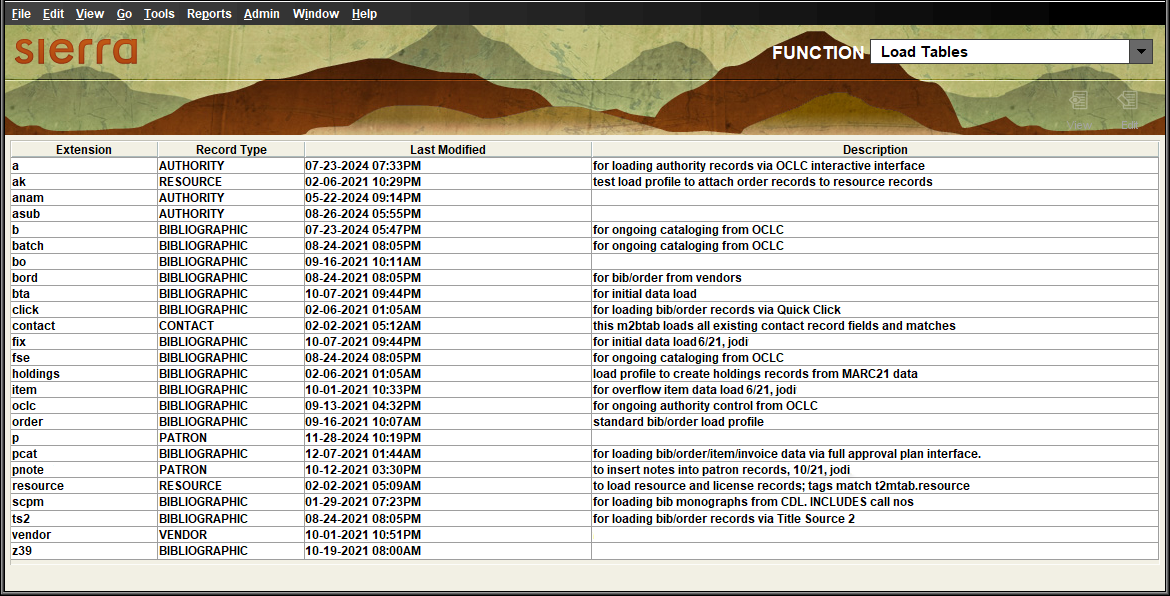
When you first enter the Load Tables function, Sierra displays the load tables screen. Load tables are listed by their extension only (for example, a file named "m2btab.anam" appears as "anam" on this screen). This screen shows all load tables in your Sierra system, including those:
- Created by Innovative during implementation.
- Created by your library in Admin Corner (if your library has access to this option).
- Created by your library in the Load Tables function.
The following screenshot shows an example of the load tables screen.
For more information on the Load Tables function, see the following:
- An Introduction to the Load Table Editors
- Viewing and Editing Load Tables
- Creating New Load Tables
- Importing and Exporting Load Tables
An Introduction to the Load Table Editors
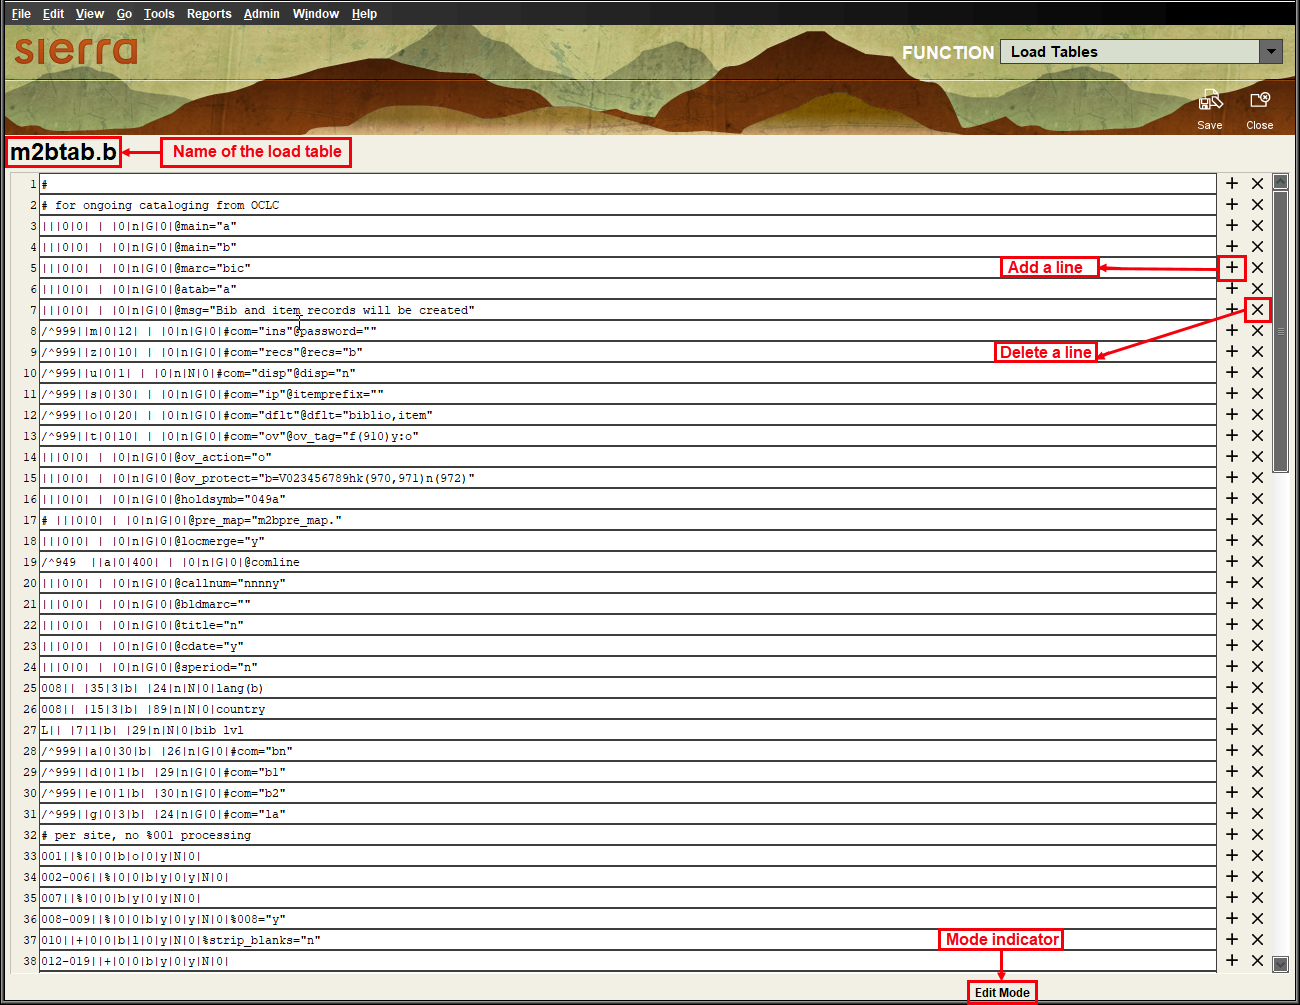
The Load Tables function offers two editors while viewing and editing load tables -- the source editor and the guided editor. You can toggle between them from the Edit menu by selecting either Use guided editor or Use source editor.
For more information on each editor, see the sections below.
Source Editor
The source editor provides a simple text editor for each line in the load table. You can place your cursor anywhere in a line to add, edit, or delete text. This editor does not provide validation for the individual elements of a line like the guided editor does.
Guided Editor
The guided editor provides a separate editing interface for each type of line in a load table, including:
Comments
The comment editor provides a free-text field to enter comments. For example:

The lines do not wrap, but you can press Enter to start a new line. The system saves comments as individual lines and inserts a number sign (#) at the beginning of each. (The number signs are visible in the source editor only.)
If the comment appears at the top of the load table before any data, Sierra uses the first line as the description for the load table on the load tables screen.
Global Loading Instructions
The global loading instruction editor allows you to select a global loading function and enter its corresponding value. This information is saved to element #12 of the load table line. The example below shows three global loading instruction lines.

If the content of the input field does not match the pattern assigned to that global loading function, Sierra displays the text in the invalid text color assigned to your login (the default is red).
Editing @comline Lines
The line containing the @comline global loading instruction is different from other global loading instruction lines. This line displays the entire content of the line in a text editor. If you need to edit it, you can click anywhere in the field to add or delete text.
MARC Load Lines
The MARC load line editor allows you to enter the information needed to load MARC tags (and optionally indicators). MARC load lines initially appear in text form (like they appear in the source editor). You can click the triangle button ![]() on the right side of the screen to open the editor, which provides separate fields for each element. For example:
on the right side of the screen to open the editor, which provides separate fields for each element. For example:

Sierra validates the following fields:
- New MARC Tag -- Must be either three numeric characters (for a MARC tag only) or three numeric characters followed by two alphanumeric or space characters (for a MARC tag and indicators).
- Offset -- Must be numeric.
- Number of bytes -- Must be numeric.
- Field Group Tag -- Must be a single alphanumeric character or the space character.
- Fixed-length Field -- Must be numeric.
- MARC Format -- Must be a lowercase "y" or "n".
- Pass Number -- Must be a single digit (0-9).
If you enter a value that is not supported, the system displays it using the invalid text color set for your login (the default is red).
Command Lines
Command lines initially appear in text form (like they appear in the source editor). You can click the triangle button ![]() on the right side of the screen to open the editor, which provides separate fields for each element. For example:
on the right side of the screen to open the editor, which provides separate fields for each element. For example:

If the selected command is a trigger, an input field for the trigger's value also appears. For example:

Sierra validates the following fields:
- Number of bytes -- Must be numeric.
- Fixed-length Field -- Must be numeric.
If you enter a value that is not supported, the system displays it using the invalid text color set for your login (the default is red).

