Linking from External Origins to Resources
To link to resources from origins follow these steps:
Set up the Origin and Resource
- If necessary, create a category for the origin and resource.
Origins and resources must be in the same category for links between them to work. - If necessary, create the origin definition.
The origin definition must be active for the link to work. - If necessary, create the resource definition.
The resource definition must be active for the link to work. - Assign the origin definition and the resource definition to the same category.
Create the Link
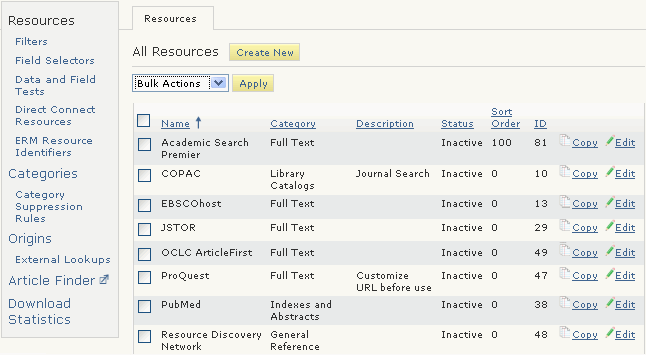
- Decide where to display the link. Open the resource definition by choosing Resources from the menu on the left-hand side of the WebBridge LR home page.
The Resources tab displays:
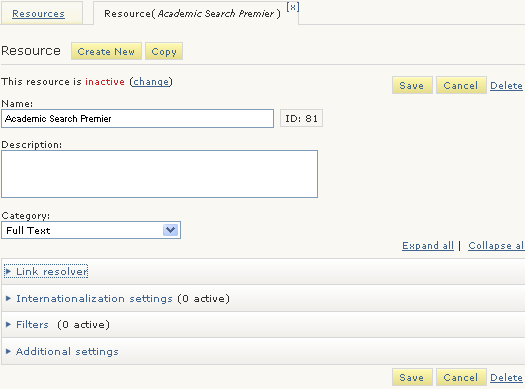
- Choose the Edit button associated with the resource.
The Resource (<resource_name>) tab displays. For example:
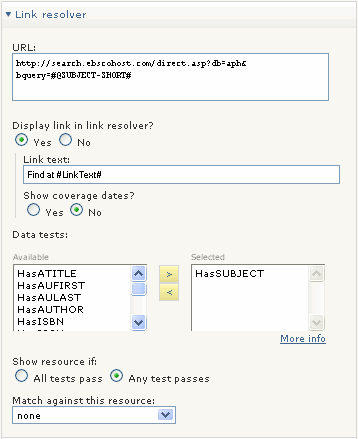
- Expand the Link Resolver menu. For example:

- Enter the resource's URL in the URL text box.
- Choose Yes for Link Resolver | Display link in the link resolver?.
- Enter one or all of the following for the link:
- To display coverage dates with a link, choose Yes for Show coverage dates?
- Assign data tests that determine the circumstances under which the link displays.
- Assign filters that determine the circumstances under which the link displays.
- Enter a sort order for the resource's link.
Display the Resource
- Contact the external origin vendor to request:
- access to their administration Web pages
- an Open URL Service Identifier (SID)
- On the vendor's web site, enter the information for the link from the external origin to the WebBridge LR server.
- Customize the display of the panel.
- Customize the display of the link.