Use Advanced Publishing to publish a custom report
If your server software is Microsoft SQL Server 2008 R2 or later, you can use the Advanced Publishing feature to edit and publish a custom report. For more information on this feature, see Publish saved reports to the Polaris Shortcut Bar.
To publish a custom report to the Polaris Shortcut Bar using the Advanced Publishing feature in SimplyReports
Note: You cannot publish statistical reports or reports in MARC format using Advanced Publishing.
- Select the My Reports tab, and select the My reports subtab.
- Select a list, count, or summary report type or types. The list of saved reports of the selected type or types appears.
- Select the report you want to publish to make it available from the Polaris Shortcut Bar.
- Click
 . The Advanced Publishing window appears.
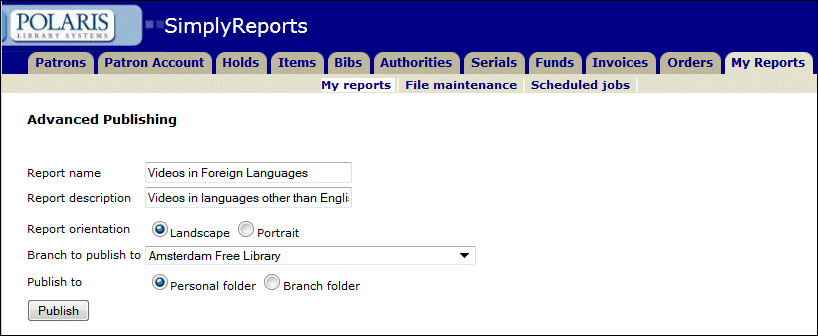
- To change the name of the report, type a different name over the displayed name in the Report name box.
- To change the description of the report, type a different description over the text displayed in the Report Description box.
- Select Landscape or Portrait in the Report orientation box.
- In the Branch to publish to box, select the branch subfolder under which you want the custom report to appear in the Polaris Reports window.
- Select Personal folder or Branch folder to specify whether you want the report to appear in your own folder, or in the branch folder. If you select Personal folder, when the report is published, it will appear under the branch subfolder in a folder named with your user name.
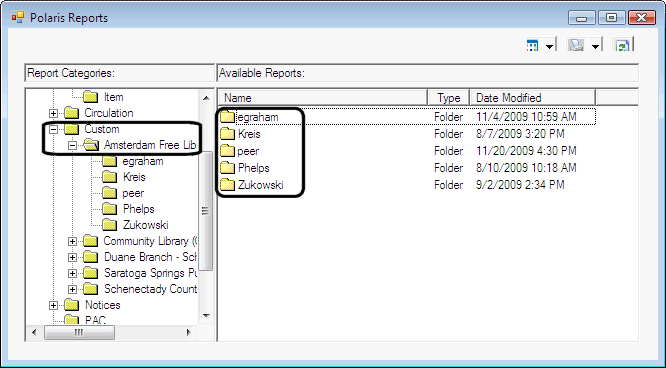
- Click
 . The Microsoft SQL Server Report Builder window appears.
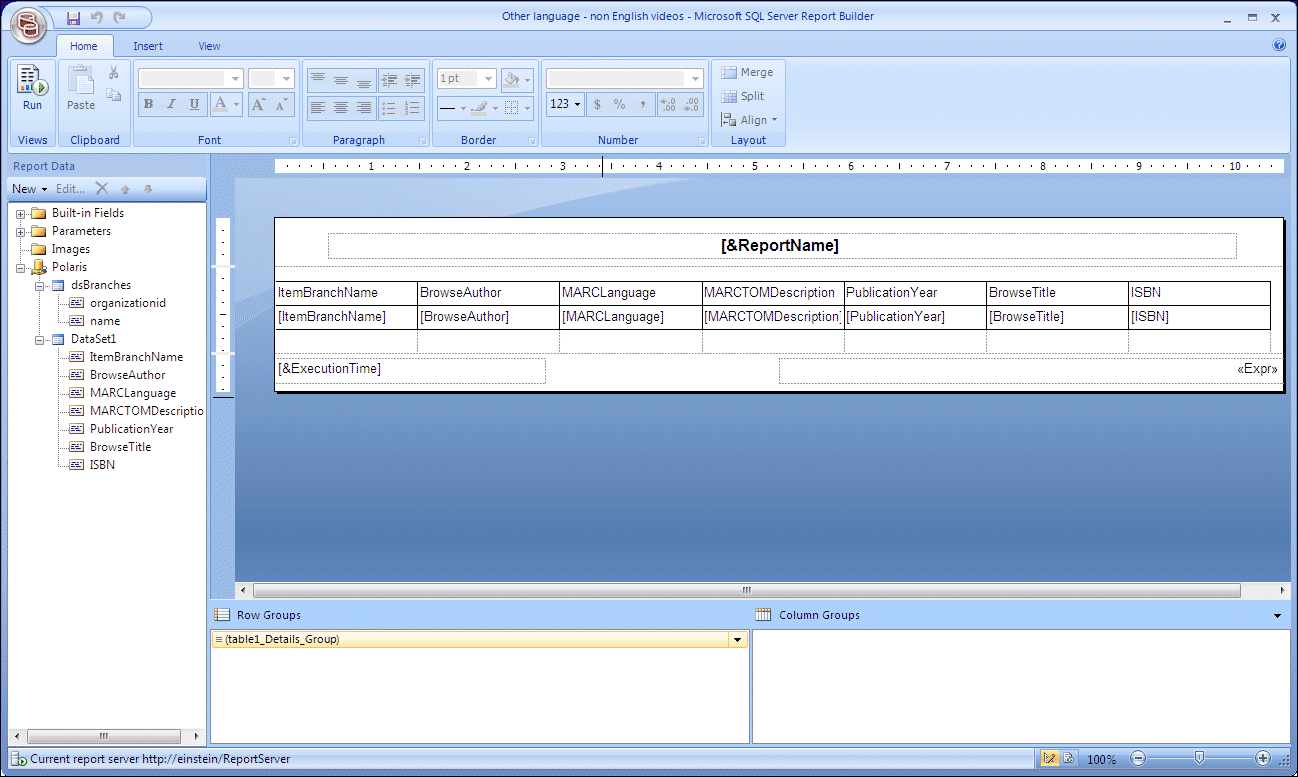
- Make any changes to the report. For example, you could change the column headings, the report name, the font, and the text color and point size.
Tip: Click  in the Report Builder window to get online Help for the Microsoft SQL Server Report Builder application.
- Click
 to preview the report. Another window appears where you select the branch or branches for the report.
Tip: A branch list box does not appear for Bib list and count reports, Authority list and count reports, and Fund list and Fund summary reports.
Note: Even if you used a branch filter when you created the report in SimplyReports, the entire branch list appears in Report Builder.
- If the report type requires that you set branch parameters, select the branches in the Branch drop-down list box. Choose (Select All) to include information from all branches in the report.
- Click
 to preview the report in Report Builder.
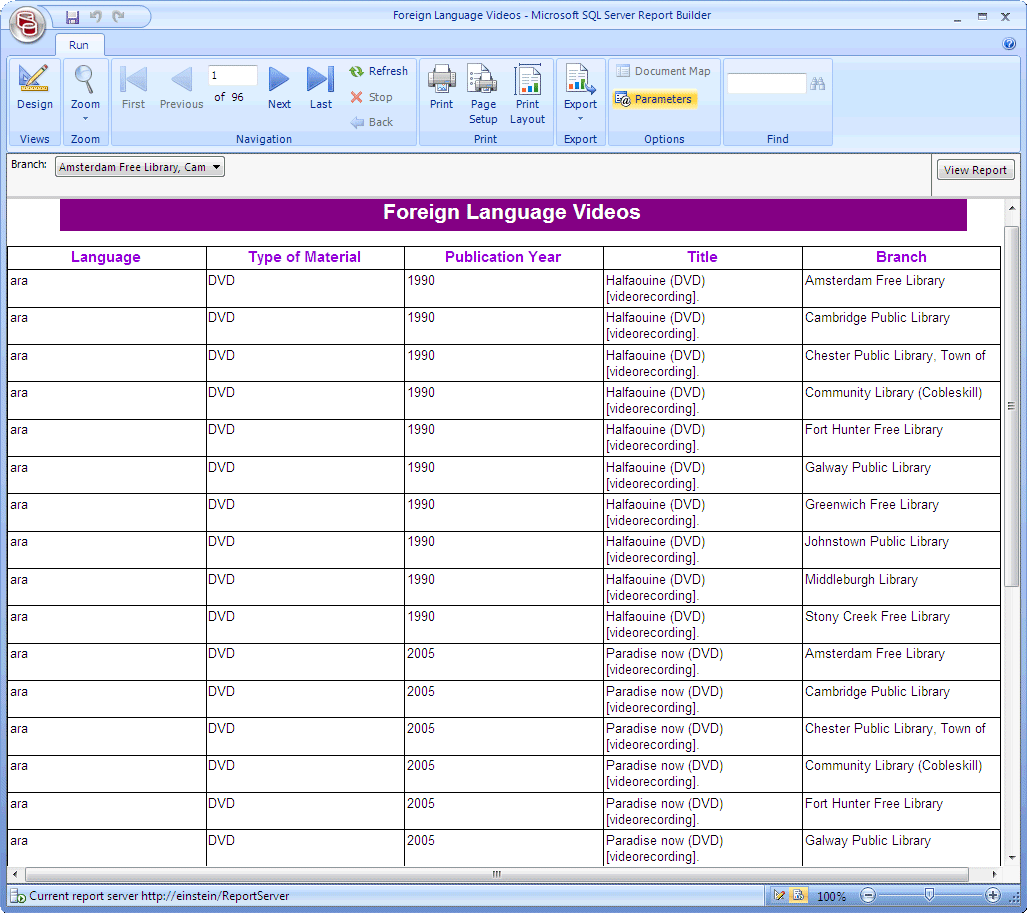
- To change the report, click
 to return to the Design view.
 - Click
 . The report is saved with the changes you made in Report Builder, and it is available from the Polaris Shortcut Bar, under Utilities > Reports and Notices in the Custom folder, under the branch you specified. If you saved it to a personal folder, it appears in the branch folder in a subfolder with your Polaris user name.
Tip: When you select a custom report from the Polaris Shortcut Bar, you can select only one organization (branch) from the list. To produce a report for multiple branches or all branches, you can export or print the report directly from Report Builder.
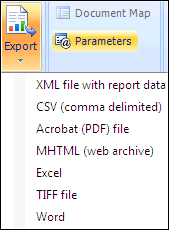
- To export the report from Report Builder, click Export and select the file type in which you want to save the report.
- To print the report from Report Builder, click
 .
.