Setting Up PAC Title Lists
PAC users can place titles selected from their search results in a formatted title list that can be printed, saved, or sent by email. List formats include Brief Bibliographic, Full Bibliographic, Chicago Manual of Style, and APA.
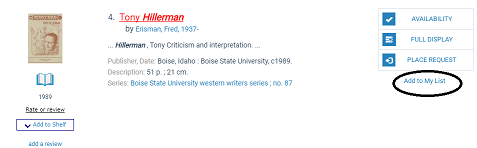
As the user selects titles from search results, they are placed in a working list that is displayed in the dashboard.
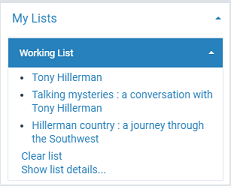
In Polaris PowerPAC, the working list remains in the dashboard for the duration of the session. (For details about title list features in Mobile PAC, see Title Lists in Mobile PAC). Working title lists are limited to 100 titles. When the user tries to add more, the system displays a message advising the user to save the list. The example shows a portion of a working list when the user has clicked or tapped Show list details.
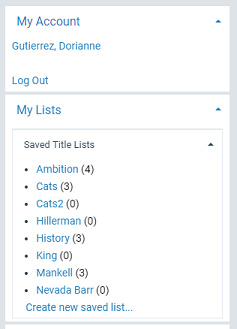
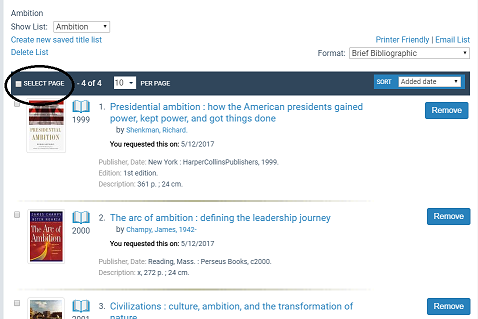
Registered library patrons can create and save multiple title lists in association with their patron accounts. Whenever patrons log in, they can see and work with their saved lists. The example shows a portion of the dashboard for a logged-in patron with saved title lists.
For more information:
- Selecting Multiple Titles in a List
- Paging Title Lists
- Sorting Title Lists
- Printing and Emailing Title Lists
- Availability Information in Title Lists
- Setting Up Title List Functions
Selecting Multiple Titles in a List
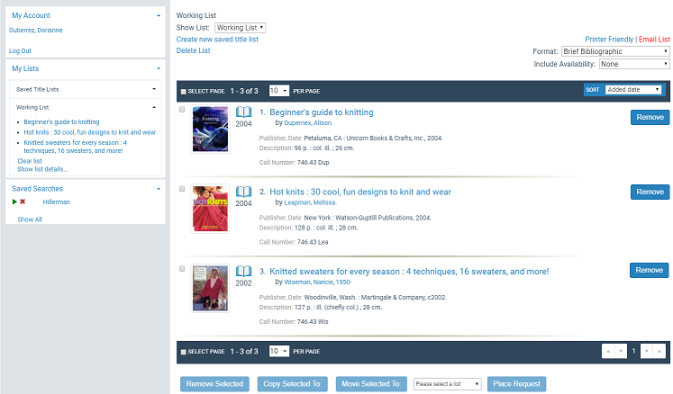
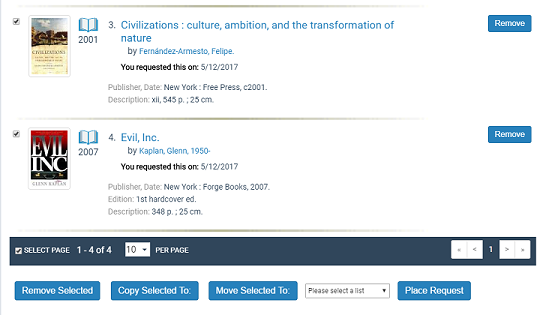
In working and saved lists, the user can check multiple titles and move or copy them from a working list to a saved list or among saved lists, and print, email, or save to disk any list pages, as well as email the entire list. The user can also check single or multiple titles to place hold requests on the selected title or titles. if you choose to enable this feature (see Bulk Hold Requests from Polaris PowerPAC Title Lists).
A Select Page checkbox is available at the top and bottom of the title list page in Polaris PowerPAC. When you select this checkbox, all titles on the current page are checked. A Remove from list button is also available for individual titles on working and saved title lists when displayed in Brief Bibliographic or Full Bibliographic format. You can click or tap Remove from list to remove a single title without first selecting the checkbox.
The user clicks or taps the appropriate button at the bottom of the page to take action on the selected titles.
Paging Title Lists
PowerPAC title lists offer paging. The user can choose to display 10 (the default), 20, 30, 50, or 100 titles per page from a drop-down control at the top or bottom of the list.

Paging controls are available at the bottom of multi-page lists.

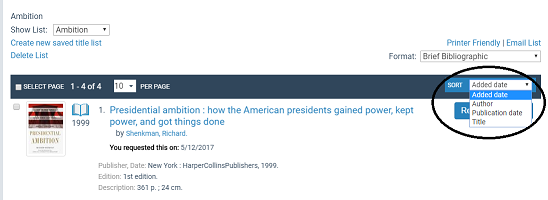
Sorting Title Lists
The user can sort the brief and full views of working and saved title lists by date added to list (the default), author, publication date, or title. When you select a new sort order, the entire list is sorted even if it extends to multiple pages; the page refreshes and you return to the first page of the list. The selected sort order is retained in the output file when you select print, email list, or save to disk. When a logged-in patron selects a sort order in a saved title list, the sort order is retained the next time the patron logs in, and any titles added to the saved list are correctly sorted for that list.
Note:
If you select the Chicago Manual of Style or APA format, the list is sorted according to the rules of those style guides, and that order is retained in the output file for print, email, or save to disk. If you switch back to the brief or full view, the sorting order is the one most recently selected for those views.
Printing and Emailing Title Lists
When you click or tap Printer Friendly or Email List on a working or saved title list, titles from the current list page are displayed in the printer-friendly view. You can click or tap Print Page, Save Page to Disk, or Email Page to to take action on the current page, or select Email all to, which emails the entire list to the designated address. Very long emails may exceed system or email service limits that prevent successful delivery. In this case, the system displays an alert message. The user can click or tap OK to close the alert and send the email, or Cancel to return to the title list. The user can then select a different display format, or select fewer titles.
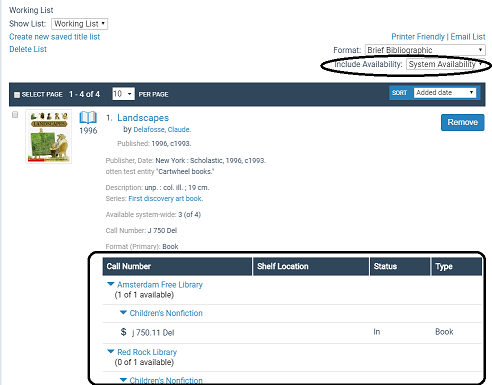
Availability Information in Title Lists
Availability counts and availability details on working and saved title lists are automatically updated to reflect real-time data whenever the user displays the list.
Note:
As in previous versions of Polaris, availability details are available only on the working list.
When availability counts on the brief and full displays for the connected branch are set to display (PowerPAC profile - Title Display: Configure), the counts on working and saved title lists reflect real-time data when the patron displays the title list page. The counts are refreshed when the patron takes any action that refreshes the page; for example, leaving the page and returning; paging through a multi-page list; changing the sort order; changing the list format.
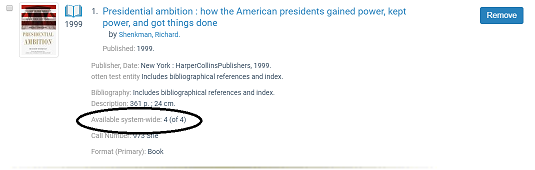
When availability details on the brief and full displays for the connected branch are set to display (PowerPAC profile - Title Display: Configure), the working list displays the details when the patron selects Local Availability or System Availability from the Include Availability drop-down list. Availability details are also updated in real time when the patron takes any action that refreshes the page.
Setting Up Title List Functions
To set up title list functions in Polaris PowerPAC and Mobile PAC:
- In the Administration Explorer tree view, open the Profiles folder for the organization, and click the PowerPAC tab in the details view.
- Double-click Title List: Enable, and select Yes.
- To allow patrons to send title lists by email, double-click Title List: Email, and select Yes.
- To allow patrons to print title lists, double-click Title List: Print, and select Yes.
Note:
This setting does not apply to Mobile PAC. See Title Lists in Mobile PAC for details about Mobile PAC title list features.
- To allow patrons to save title lists to a computer drive or disk, double-click Title List: Save, and select Yes.
Note:
This setting does not apply to Mobile PAC. See Title Lists in Mobile PAC for details about Mobile PAC title list features.
- Select File > Save.
Related Information
- Bulk holds - You can allow patrons to place hold requests on one or more titles directly from a working or saved title list in PowerPAC. See Bulk Hold Requests from Polaris PowerPAC Title Lists.
- Requested indicator - You can display a "requested" indicator in Polaris PowerPAC and Mobile PAC title lists for titles on which the patron has an active, pending, held, shipped, or located hold request. The indicator is a message: You requested this on [date]; the system supplies the date. See Configuring the PowerPAC Title Display and Configuring the Mobile PAC Title Display.