Create a custom web part
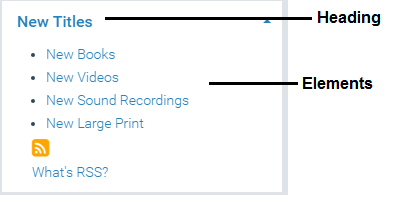
To create a custom web part, you define a heading for the web part and add data elements to the heading. You can add any combination of elements to the heading. (You create web parts for Polaris PowerPAC Children’s Edition separately from Polaris PowerPAC, but the method is the same.)
Important:
You can create web parts at the system level only. To actually display the created web parts in the PAC, you assign them to specific pages for the appropriate organization. See Assign web parts to public pages.
-
In the Administration Explorer tree view, open the Profiles folder for the system, and select the PowerPAC tab in the details view.
Note:
If you are working with web parts for Polaris PowerPAC Children’s Edition, select the Children’s PAC tab. -
Double-click Dashboards: Web part construction. The Web Part Editor dialog box appears.
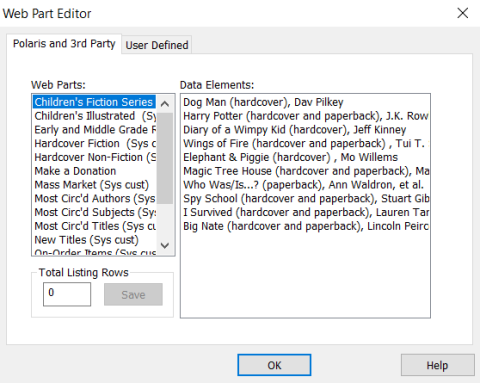
- Select the User Defined tab.
- Select Add by the Web Parts list to specify the heading for the new web part.
The Add Web Part Title dialog box appears.
- Type the heading text in the Title box, and select OK. The heading for the new web part is displayed in the Web Parts list.
- Select the heading in the Web Parts list to which you want to add elements.
- Select Add by the Data Elements list.
The Add Data Element: Pick Type dialog box appears.
-
Select one of the following element types to add to the web part. When you select an element type, the appropriate Add … Element dialog box for the selected element type appears:
-
Title Search – Puts a title link in the list. When a patron selects the title in the list, the title information is displayed as search results. Type the bibliographic control number of the title, or select the title from the Polaris Find Tool results list (select Find to display the Find Tool).
-
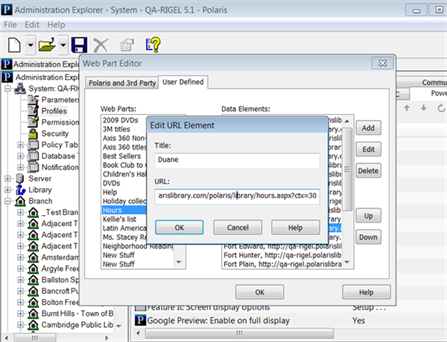
URL – Puts a link to a website or page in the list. When a patron selects the link, the browser displays the destination page. Type the link text in the Title box, and type the uniform resource locator (address) in the URL box. See also URL Data Elements and PowerPAC Context After Timeout.
-
Free Text – Puts text in the list. Use free text for announcements, page instructions, or introducing the list. Type the text of the announcement or message you want to display. You can use basic HTML tags to format the text.

-
- Select OK on the Add … Element dialog box. The new element is displayed in the Data Elements list on the Web Part Editor dialog box.
- Repeat steps 8 and 9 to add additional elements to the selected Web Part (heading). You can add any combination of element types to a single heading.
- When you are finished working with the library-defined web parts, select OK.
- Select File > Save.
URL Data Elements and PowerPAC Context After Timeout
To protect patron privacy, Polaris PowerPAC is designed to return to the system organization context after a timeout period even if the last connection had been to a specific branch organization. For example:
- The user connects to Polaris PowerPAC at the system level.
- The user then clicks a link to an external page with a specific organizational context (for example, a branch's hours page).
- The user has no activity and leaves the browser open for 20 minutes. PowerPAC times out.
- The user then clicks a link to a page with a specific organizational context, but Polaris PowerPAC returns to the system organization context.
If you want the URL on the external page to bring the user to the specific organization context in the above circumstances instead of reverting to the system context , place only the organization ID in the ctx portion of the URL data element. For example, use ctx=30 instead of ctx=30.1033.0.1.
Related Information
- Edit the title of a web part - Select the heading in the Web Parts list, and select Edit by the Web Parts list.
- Delete a web part - Select the heading in the Web Parts list, and select Delete by the Web Parts list.
- Edit an element in a web part - Select the heading in the Web Parts list, and select the element in the Data Elements list. Select Edit by the Data Elements list.
- Delete an element from a web part - Select the heading in the Web Parts list, and select the element in the Data Elements list. Select Delete by the Data Elements list.
- Reorder the elements in a web part - Select the heading in the Web Parts list, and select the element in the Data Elements list. Select Up or Down by the Data Elements list. The order in the Data Elements list determines the display order in the dashboard.
- Add a web part to a page - See Assign web parts to public pages.