Manage Purchase Order Line Item Segments
A segment is a part of a purchase order line item that designates the quantity of an item ordered. A purchase order line item must have at least one segment. Use the Segments view of the Purchase Order Line Item workform to create, view, edit, and delete segments.
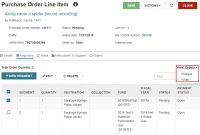
In the Segments view, you can see the segments listed in a table. The table lists segments in the following views:
-
Orders - Select a segment to edit or delete it.
-
Charges - Select segment to edit the segment's charges.
-
Totals - View the totals for the line item and segments.
To filter and sort each view of the table
-
Use the Filter field to limit the number of rows of segments that you see in the table.
-
Select the arrow in the header line of each column to sort rows in ascending or descending order.
In these views you can do the following:
The next step in the Purchase Order Line Item workform is entering Notes.
Create a Segment
-
Select + NEW SEGMENT.
The Add Segment dialog opens.
-
Enter or select the following values:
-
Quantity - Enter the number of units for this segment order.
-
Destination - Select the destination library or branch for this segment order.
-
Collection - (optional) Select the collection this order belongs to.
-
Fund - Select the fund that pays for this order.
-
-
Select SAVE.
Leap adds the new segment to the table in the Purchase Order Line Item workform.
Edit or Delete a Segment
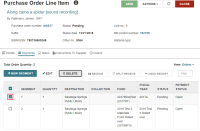
You can edit or delete a segment from the Orders view of the purchase order line item segment.
To edit a segment's order
-
Go to the Purchase Order Line Item workform > Segment view.
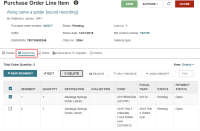
The Orders view for the Segments opens.
-
Select a table row.
-
Enter or select the following values:
-
Quantity - Enter the number of units for this segment order.
-
Destination - Select the destination library or branch for this segment order.
-
Collection - (optional) Select the collection this order belongs to.
-
Fund - Select the fund that pays for this order.
-
-
Select OK.
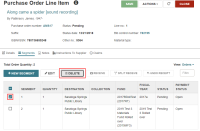
To delete a segment
-
Go to the Purchase Order Line Item workform > Segment view.
The Orders view for the segments opens.
-
Select a table row.
-
Select OK.
Receive, Split Receive, or Undo Receipt
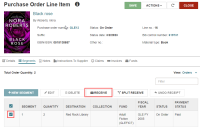
Use the Segments view of the Purchase Order Line Item workform to do the following with segments:
-
Go to the Purchase Order Line Item workform and select the Segment view.
The Orders view for the segments opens.
-
Select one or more table rows with the following statuses:
-
on order
-
backordered
-
exceptional condition
-
never published
-
out of print
-
return requested
-
returned
-
pending claim
- claimed
-
-
Select RECEIVE.
-
Select CONTINUE.
-
Go to the Purchase Order Line Item workform and select the Segment view.
The Orders view for the segments opens.
-
Select a table row with the following conditions:
-
Quantity is two or more.
-
Status is one of the Received statuses above.
-
Segment is not linked to an invoice line item.
-
-
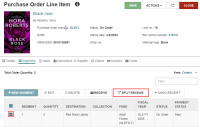
Select SPLIT RECEIVE.
-
Enter the Quantity Received.
-
Select OK.
The system receives the number of items you specified and creates another segment for the quantity that is not received yet. The new segment inherits the status of the original segment that you split-received.
-
Go to the Purchase Order Line Item workform and select the Segment view.
The Orders view for the segments opens.
-
Select a table row with a status of Received.
-
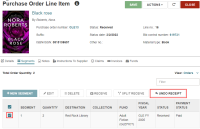
Select UNDO RECEIPT.
-
Select CONTINUE.
Copy Segment to Invoice
To copy a segment to an invoice
-
Go to the Purchase Order Line Item workform and select the Segment view.
The Orders view for the segments opens.
-
Select a table row with a Status that is NOT: canceled, claimed, closed, pending, or pending claim.
-
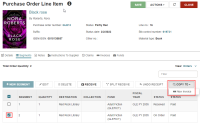
Select COPY TO> New Invoice.
-
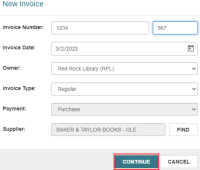
Select CONTINUE.
-
Fill in an invoice number.
Keep this number so you can search for the invoice after you create it .
-
Select CONTINUE.
The segment's Payment Status moves to Paid.
Edit Charge
To edit a segment's charge
-
Go to the Purchase Order Line Item workform > Segment view.

The Orders view for the segments opens.
-
Select the Charges view.
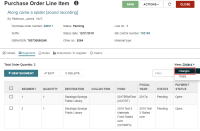
The Charges view for the Segments opens. -
Select a table row.
-
Select EDIT.
-
Select OK.
The next step in the Purchase Order Line Item workform is entering Notes.
