You can use the provided language files to customize the display text for buttons, field labels, and so on. When new strings are added to Vega, they are added to the provided language files and to your customized files.
New strings are added in English to all language files, and the non-English language files are updated yearly with new default translations of the added text strings.
You can either use the built-in editor to customize the default translations or you can download your translation file and use a text editor.
Vega provides full default translations of the user interface in the following languages:
- English (US, UK, CA, NZ, AU)
- French (FR, CA)
- Catalan (ES)
- Chinese (CN, simplified Chinese)
- Chinese (TW, simplified Chinese)
- German (DE, CH)
- Icelandic (IS)
- Maori (MI)
- Polish (PL)
- Spanish (US, ES)
- Swedish (SE)
How to identify translatable text versus code
Some text strings that can be translated in Vega include code that Vega uses to pull other values into the translated string. It’s important to know which parts of a text string you can change and which parts you shouldn’t change.
What to translate
-
Words that aren’t inside curly braces
Example: You can translate this {but not this} text.
-
The deepest set of words that are nested in two or three sets of curly braces
Example 1: You can translate this text {but don't translate this {also translate this} and don’t translate this} and translate this.
Example 2: You can translate this text {but don't translate this {don't translate this either! {yes, translate this text} but don't translate this} and don't translate this} but translate this.
What not to translate
-
Text in unnested curly braces
-
The text in curly braces that has text in another set of curly braces nested inside it
Real-world examples
You can translate the highlighted text in these examples:
-
I don’t need {itemsCount, plural, =1 {this item} other {these items}} after
If itemsCount is 1, the text renders as “I don’t need this item after”. If itemsCount is more than 1, the text renders as “I don’t need these items after”.
-
{value, select, less {less} more {more} other {}}
Depending on the value, the text renders as “less” or “more”.
-
{value, plural, =1 {result} other {results}
For a single item, the text renders as “result”. For multiple items, the text renders as “results”.
-
{tabType, select, availability {Availability} resources {Resources} about {About} relationships {Relationships} agents {{cardType, select, Agent {Related} other {}} Persons} concepts {{cardType, select, Concept {Related} other{}} Concepts} other {}}
Depending on tabType and cardType, the text can render as “Availability”, Resources”, “About”, “Relationships”, “Related Persons”, or “Related Concepts”.
Note: A few complex string codes in the translation file may not appear to fully follow the rules. This string is the most complex translation example. When you translate English files, it might help to view complex strings in another language for reference.
Customize a translation using the built-in editor
If you want to modify some of the default strings in a default language file or a previously-created custom translation, it’s best to use the built-in editor.
- From the Settings menu, select Localization settings > Manage translations.
- Select one of the following:
- Patron Interface
- Staff Interface
- Select Edit for the translation you want to modify.
- If you want to search for text, do the following:
- Click inside the editor and press Ctrl+F to open the search box.
- Enter the text you want to find.
- Make the changes.
- Select Save.
Be sure to follow the guidelines listed in the procedure to download and translate a global translation file below.
Customize a translation using an external text editor
If you want to make extensive modifications to a default language file, it’s best to download the global translation file, and make the edits in a text editor such as Notepad.
To customize the Vega user interface text, you first download a global translation file, and then enter custom translated text. Next, you upload the custom translation file, and set Vega to use the custom translation.
- From the Settings menu, select Localization settings > Manage translations.
- Select Download Global Translation for the language you want to translate.
- Open the file in a text editor.
- Only change the second word or phrase.
- Don’t remove or change the colon that separates the word or phrase.
- Don’t remove or change the quotation marks that surround the word or phrase.
- Don’t change variables within braces such as {value} or {title}.
- Don’t remove or change the braces at the beginning and end of the file.
- When your translations are complete, save the file in the text editor using the same name as the original file.
The Manage translations page opens.
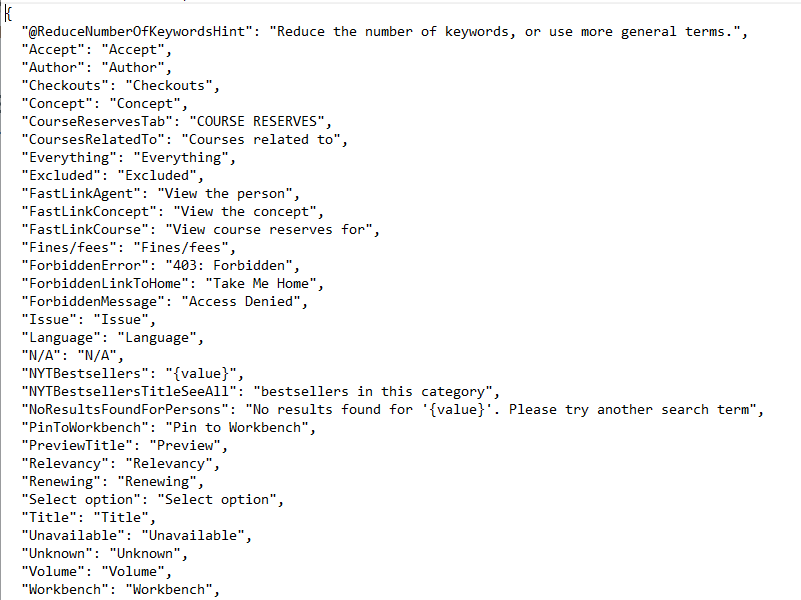
The following is a sample translation file:
Note: Follow these guidelines when you edit the global translation file:
For example, to translate the entry "Unavailable": "Unavailable", to Spanish, the result would be "Unavailable": "Indisponible",
Note: When you save the file, be sure to select Save as type: All Files (*.*).
- From the Settings menu, select Localization settings > Manage translations.
- Select UPLOAD CUSTOM TRANSLATION.
- Select Browse.
- Find and select the custom translation file, and select Open.
- In the Upload custom translation dialog, select UPLOAD.
The Manage translations page opens.
The Upload custom translation dialog opens.
The Open dialog appears.
Turn custom translations on or off
Custom translations are set to off by default.
- From the Settings menu, select Localization settings > Manage translations.
- Select the Custom translation toggle to turn translations on or off.
The Manage translations page opens.
Update a custom translation
Once you enable a custom translation using the global translation file, you can update the custom translation. The customized file will contain your customized strings and any new strings that were added to Vega since you made your last edits.
Important
Be sure you don’t download the default global translation file you previously used to customize your translation. Your previously added translations are only in the customized file.
- From the Settings menu, select Localization settings > Manage translations.
-
Do one of the following to update your custom translation file:
Select Edit for the translation you want to update.
Select Download (located between the Edit and Upload buttons) to download the file.