Customize a Report
To customize reports, you must have Microsoft’s Visual Studio installed. You must also have rights to customize the reports. If your organization has Polaris SimplyReports, and you have the required permissions, you can customize a report created in SimplyReports and make it available from the Polaris Shortcut Bar. For more information, see SimplyReports online Help. When you customize a report, it is saved in the Custom folder for your organization.
Note:
When you place a custom report in a new folder, click Refresh Reports on the Polaris Reports toolbar to see the new folder.
To generate a custom report:
Important:
If you save a custom report in a folder other than Custom, it will be overwritten when a new Polaris release is installed.
- Select Utilities > Reports and Notices. The Polaris Reports window appears.
- Select the subsystem folder for the type of report you want to customize. The reports related to the subsystem appear.
- Select the report you want to customize, right-click, and select Customize.
A copy of the report is saved in the Custom folder on the reports server.
- To save the copy to the workstation that has Visual Studio.Net:
- Click the Start button on the desktop. In the search box, type the address of the reports folder on the server with Polaris reports, and click OK.
Example:
If your reports server is PolarisServer, type http://PolarisServer/reports.
The Report Manager home page appears.
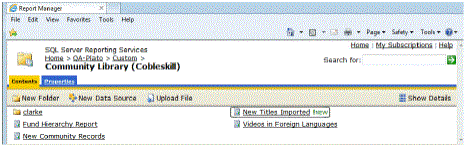
- Click Polaris > Custom on the Polaris reports page.

The Custom page opens.
- Select the report you want to edit.
The report you selected appears in the View tab.
- Select the Properties tab. The Properties tabbed page appears.
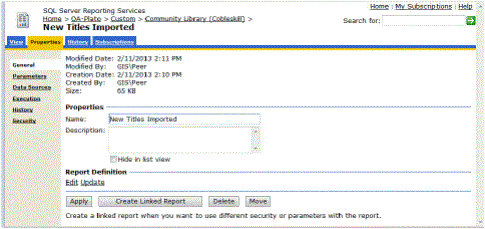
- Select Edit under Report Definition. A message asks whether you want to open or save the report.
- Click Save. Another message informs you that the download is complete.
- Save the report to a location accessible to VisualStudio.Net.
- Select Start on the desktop, and select Programs > Visual Studio. Visual Studio opens.
- Select File > New Project.
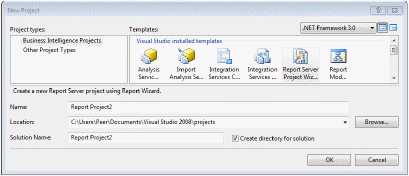
- Select Business Intelligence Project in the Project Types list.
- Set up a new Reports project.
- Open the project, and add your report to the project.
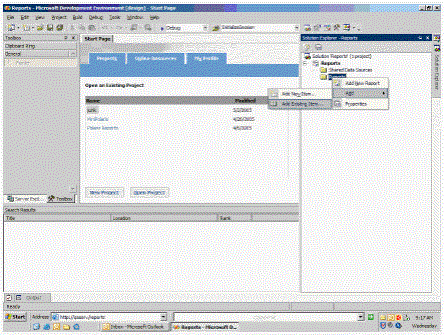
- Customize the report using any features available in the application.
Note:
Follow the instructions in your Microsoft manual or go to Microsoft’s Web site for information on using VisualStudio to customize reports.
- When you have finished customizing the report, save the customized version in the Custom folder on the report server.
- Open the Custom folder, select the customized report, and select the Properties tab on the report page.
- Click Update to update the report definition in the Polaris Reports Manager.