Creating an RBdigital Integrated Vendor Account
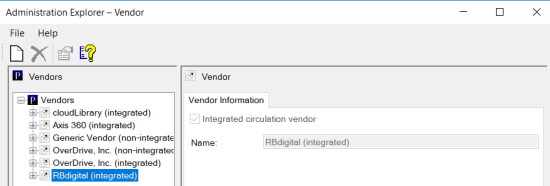
The RBdigital (integrated) Vendor node appears in the Polaris Administration Explorer only when your library has a license for RBdigital. RBdigital supports multiple accounts, such as a parent (shared) account and individual child accounts with titles and copies exclusively for patrons registered at specific branches.
Note:
Your Site Manager will assist you in creating a RBdigital vendor account.
To create an RBdigital vendor account:
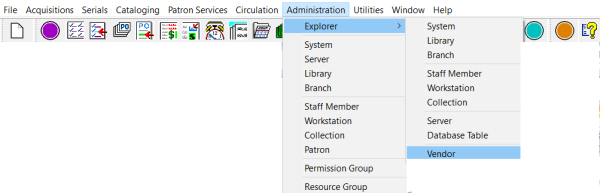
- Select Administration > Explorer > Vendor.
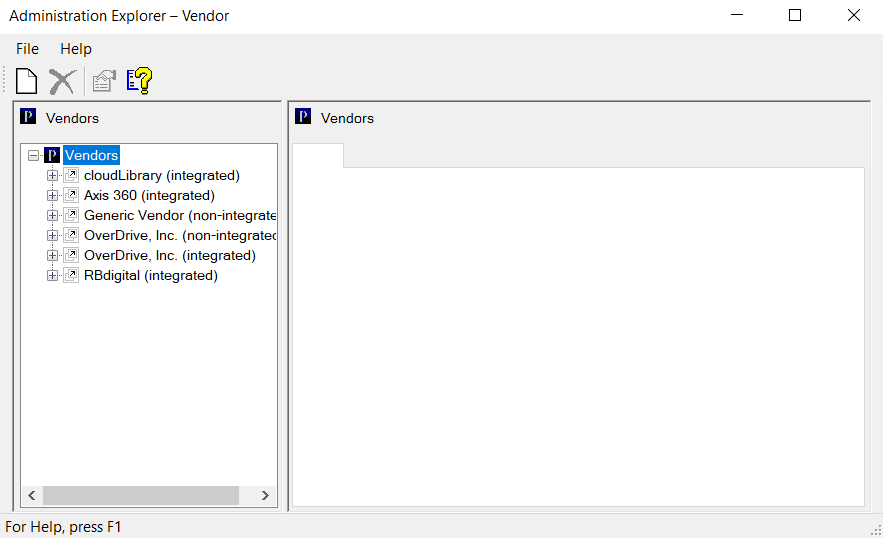
- Expand the Vendors node to display all the eContent vendors.
- Right-click RBdigital (integrated), and select New.
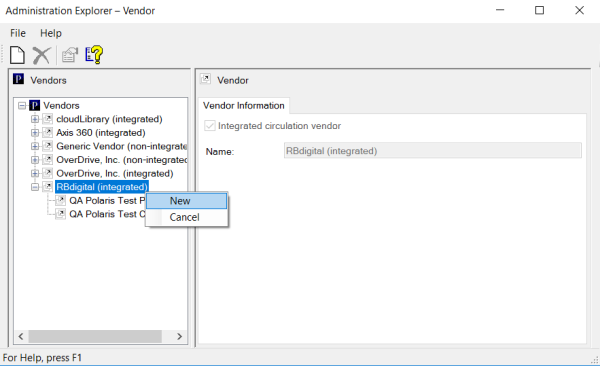
The Vendor Account workform appears.
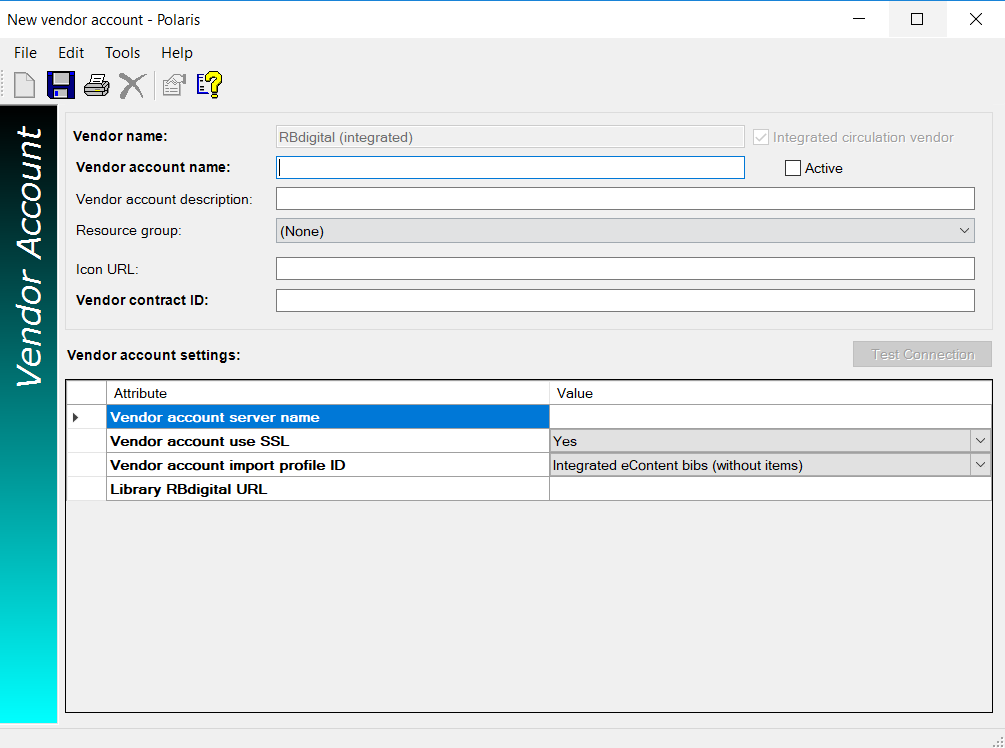
- Type the name for the RBdigital account in the Vendor account name box.
- Type the description for the account in the Vendor account description box.
- If your library is using a resource group for this vendor account, select it in the Resource group box.
- Type the URL for the RBdigital icon in the Icon URL box.
- Type the contract ID in the Vendor contract ID box.
- Type api.rbdigital.com in the Vendor account server name box.
Note:
The firewall must allow access to api.rbdigital.com over port 443.
- Select Yes in the Vendor account use SSL box.
- Select Integrated eContent bibs (without items) in the Vendor account import profile ID box.
- Type the library-specific URL in the Library RBdigital URL box.
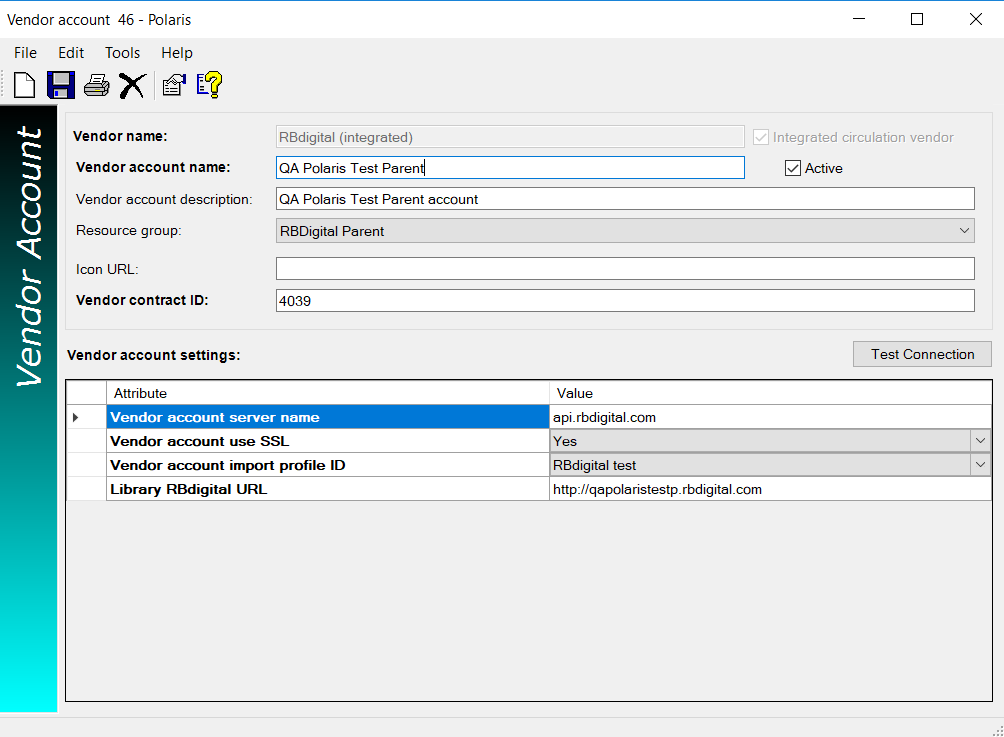
- Save the Vendor Account workform.