Enter Your Organization’s Basic Information
When users search for community information in the PAC, they can search by the organization’s name, address, contact persons, services, event or program title, subject, or notes.
To enter basic information about your organization and add your organization’s logo:
Note:
Do not include HTML markup in any text fields.
- Open the organization’s record. See Access your organization’s record for details.
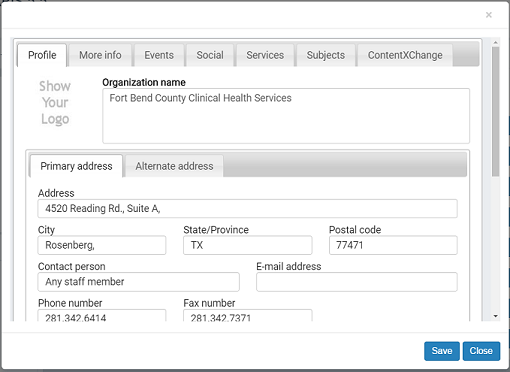
- To edit the organization name, type the new name in the Organization Name box. The organization name is required.
- To add a logo image to your organization record, click Show Your Logo.
- In the Add or update a logo box, enter the URL for the organization’s graphic in the Logo URL box. The URL must point to an image file ending in .png, .jpg, .gif etc. You cannot upload a logo from your desktop; it must be on a web page. If your organization’s logo is on a web page, select it, right-click and select Properties to see the URL. Then, copy and paste the URL into the Logo URL box. If your image is not already on a website, you can upload the image to Facebook™, flickr®, or another picture-sharing service.
- In the Logo Description box, type a very brief identifier for the image.
- Click Save on the Logo URL dialog box.
- To edit primary address and contact information, simply type the new information in the appropriate boxes.
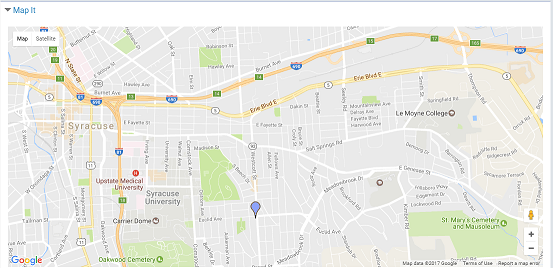
- If the MapIt location is incorrect and you want to change the coordinates, follow these steps:
- Click what’s this? for Override automatic map coordinates.
- Click the link in the information box.
- Type your address or navigate and zoom in until your location is displayed, then copy the latitude and longitude numbers below the map into the Latitude and Longitude boxes on the organization record.
- To add or edit the organization’s scheduled hours, type the information in the Hours box. Click Add more to add more lines as needed.
- To edit the description of your organization, type the new information in the Description box. The description is required, and it will be displayed when people search for community information in the library’s catalog.
- To change the type of record, select an option from the Organization type list:
- Individual
- Organization or club
- Other
- Sponsor or donor
- Click Save.
- Click Close, or click another tab to continue to edit this record.
The organization editor opens to the Profile tabbed page if this is the first time you have logged in to work with this organization.
The Logo URL dialog box opens.
Note:
The logo size will not exceed 100 x 100 pixels; if the logo is larger, it will be resized automatically.
Your description text is displayed when the user places the cursor over the image in the search results.
Note:
Click the Alternate Address tab to enter alternate address and contact information.
Note:
The coordinates are used to provide a map (Google MapIt) to your location in a catalog user’s search results. They are automatically supplied from your Primary Address information.
An information box opens.
A map opens.
To enter additional organization information, select the More Info tab, enter information in the appropriate fields, and save the record.
Example of basic community information displayed in the PAC
The information and logo entered in the Profile tab displays in the PAC as shown below.

Example of community map displayed in the PAC
The map information entered in the Profiles tab displays in a content drawer under the basic information.