Add image content
Follow these guidelines when you select image content:
-
Resolution: 1280 x 720 (or as appropriate to the target zone)
-
Quality: 72 dpi
-
Depth: 24-bit color
To add new image content
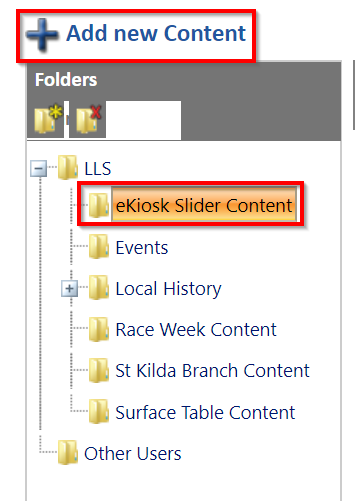
- From the menu, select Content.
- Select the folder where you want to put the new content.
- Select Add New Content.
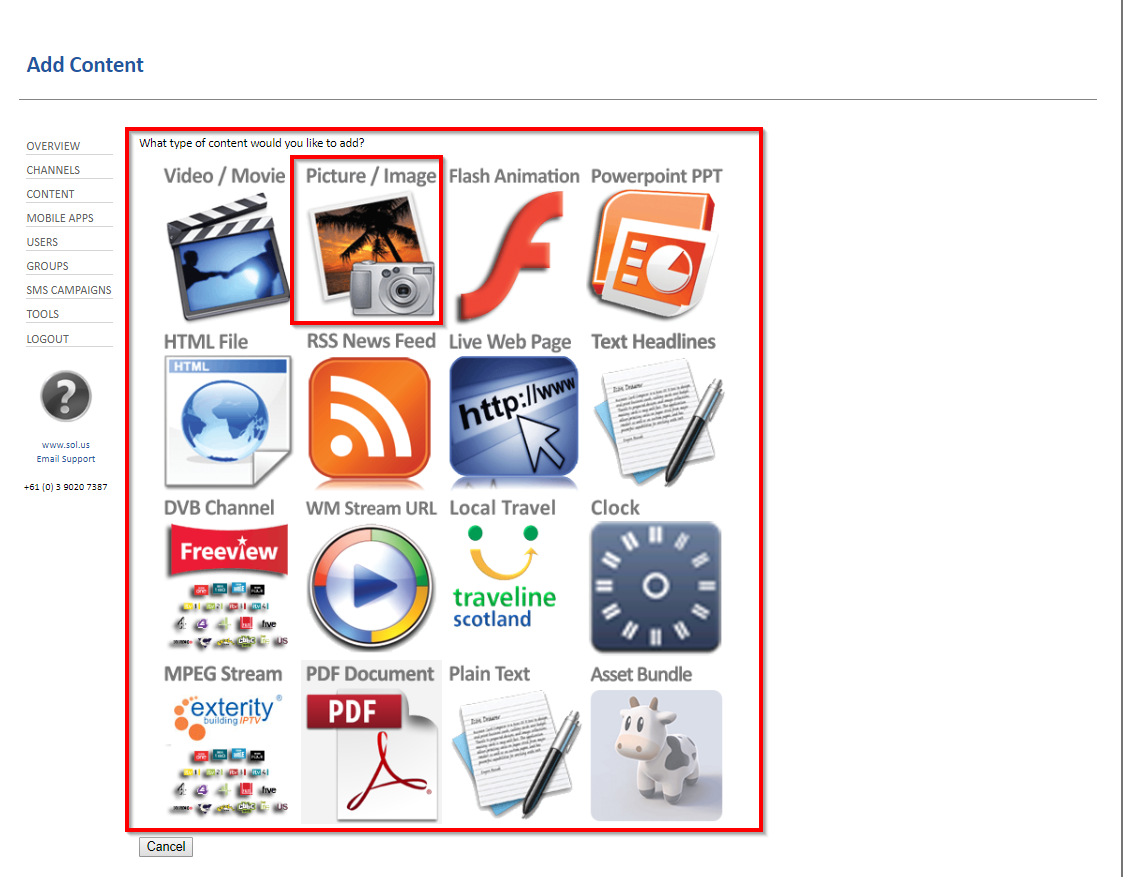
- Select Picture / Image.
The Add Content page opens.
-
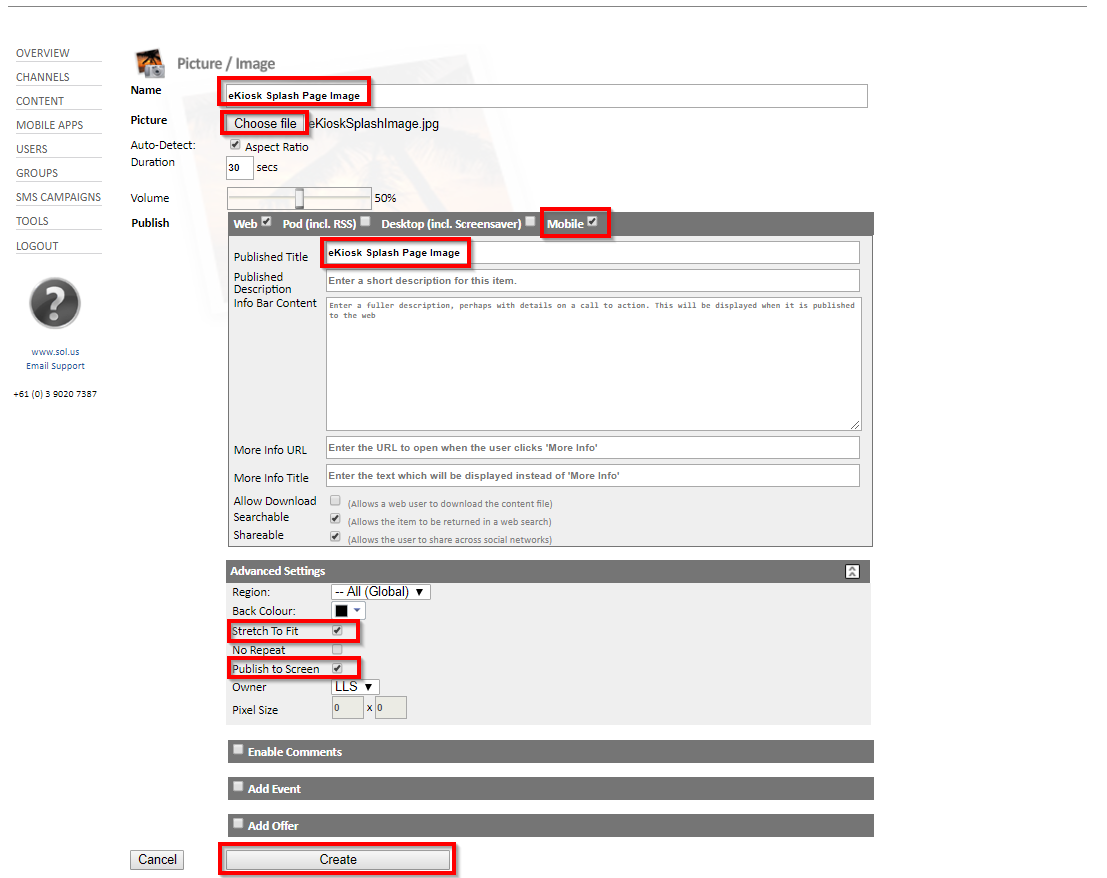
On the Picture / Image page, do the following:
- In the Name box, enter a name for the new image content. This is the name the system uses to identify the content.
- In the Picture section, select Choose File, and select a source image.
- Select the Mobile checkbox.
- In the Published Title box, enter a title for the image. This title will be visible to users when the content is published.
- (Optional) In the Published Description box, enter a description of the image.
- (Optional) Select the Stretch to Fit checkbox.
- If you want the content to be visible, in the Advanced section, select Publish to Screen.
-
Select Create.
-
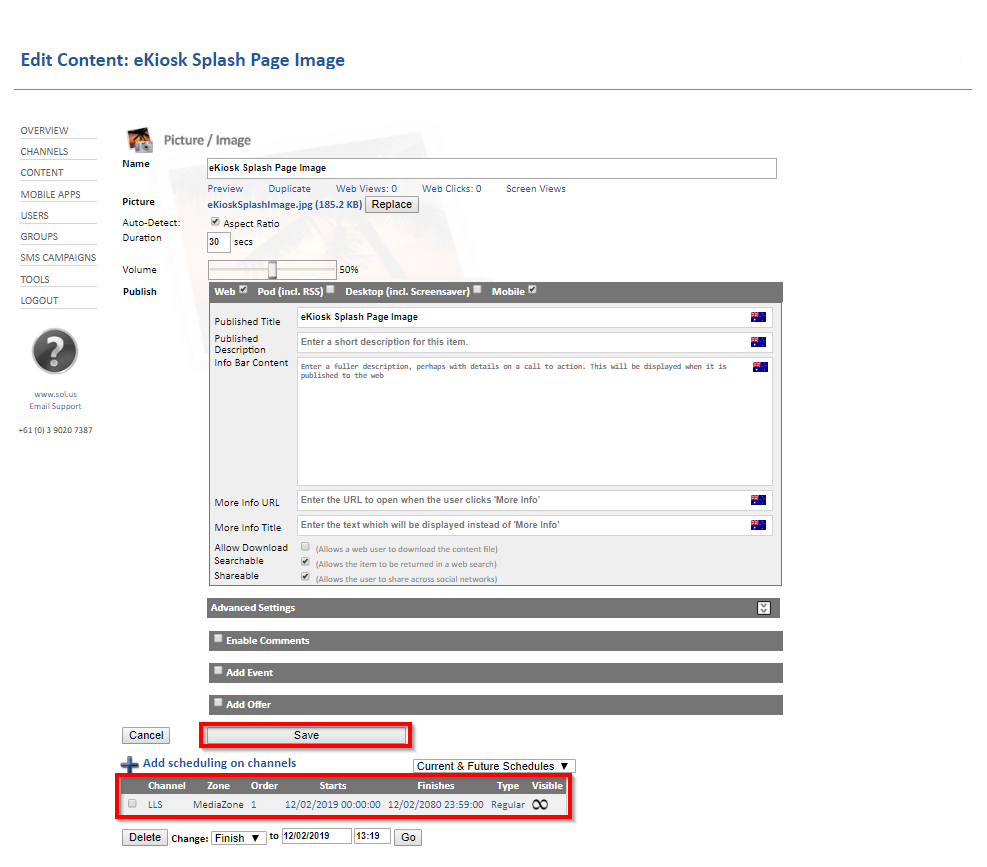
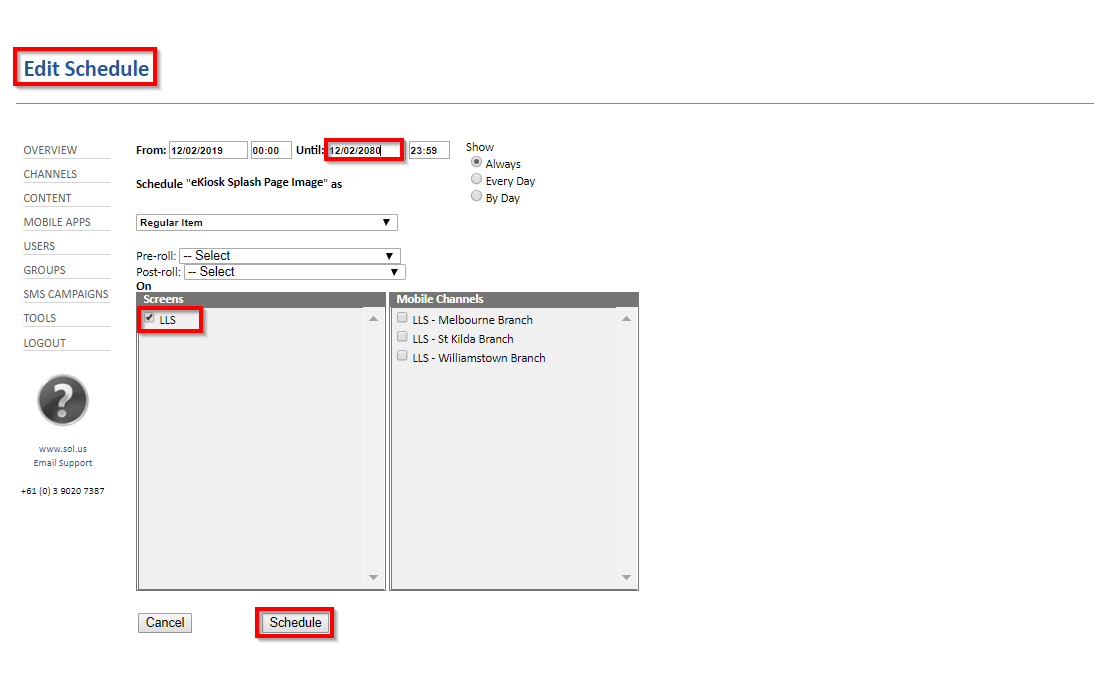
Depending on where you want to display the image, you can add or cancel scheduling configuration. The image in this example will appear on an e-kiosk screen, so the scheduling configuration can be added at this time. To schedule the image, do the following:
-
In the Until box, select the date you want to stop displaying the content.
-
In the Screens column, select the screen where you want the content to appear.
-
-
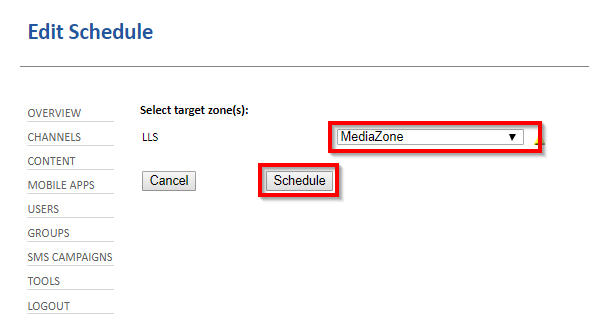
Select the target zone for the screen.
To display images on an e-kiosk, select MediaZone.
- Select Schedule.
-
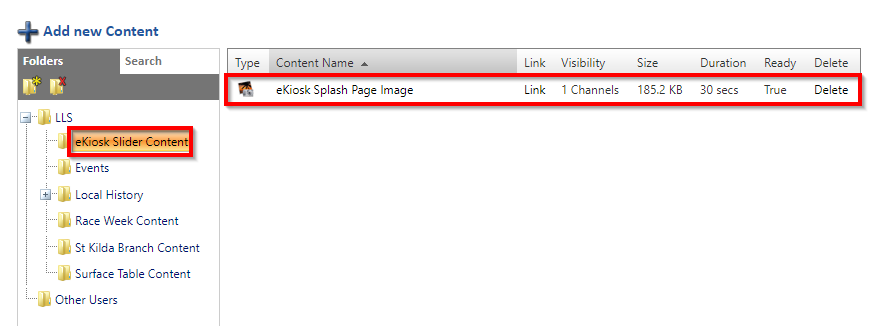
Select Save.
The content appears in the selected folder.
Select this box to stretch the image to fill the whole zone or screen. It is recommended that you create content that fits the zone or screen size (see below). However, this option allows you to adjust for items that aren’t quite correct. If the source content file and the target zone are different sizes, a significant reduction in quality results. For best output quality, ensure that the content matches the zone size.
Leave the remaining items at the default setting.
The Edit Schedule page opens.
The Content Properties page opens again with the newly configured schedule.