Print Serial Labels
You can print serial labels from any workstation in Leap.
Note:
Before you print, you must configure settings in Polaris Administration (staff client) and in Leap. For more information, see Setting Up to Print Labels.
To print serial labels
-
Do one of the following:
-
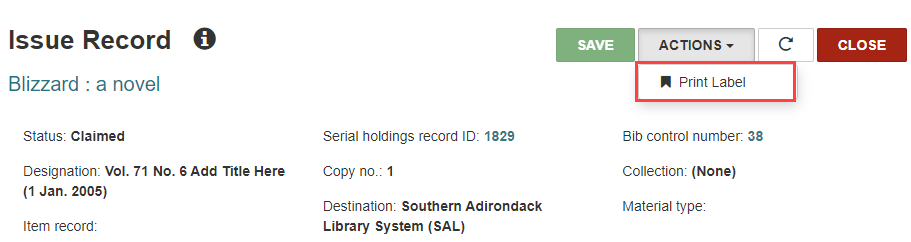
Use the Find tool to find the serial item or standing order part that needs a printed label, open the record, and select ACTIONS > Print Label.

-
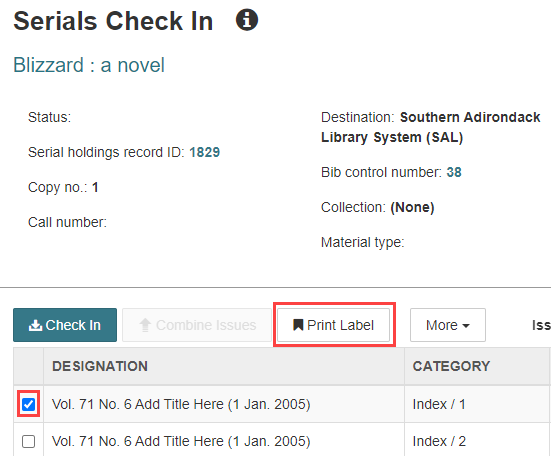
Go to Utilities > Serials Check In to find the Serials Check In workform, select one issue or part in the table, and select the Print Label button.
One of the following happens, depending on your user setup:
-
On Demand - Leap opens Label Manager so you can view the label before printing it.
-
Batch - Leap queues the label, but does not print it. You can repeat steps 1 and 2 to add more labels to the print queue.
-
Quick Print - Leap prints the label at the designated printer.
-
-
For batch print jobs, select Utilities > Label Manager to open Label Manager.
-
(Optional) Select the label type from the list at the upper left.
The preview changes to show the type of label you select.
-
Review the label layout. If necessary, you can make changes and enter carriage returns directly in the label page display. When finished, select SAVE.
Note:
When troubleshooting font sizes on PDF labels:- Check the page size in your printer driver.
- Make sure your PDF reader view is set to "Default."
-
Do one of the following:
-
To clear all of your labels and start with a blank sheet, select ACTIONS > Clear Labels. Start again with step 1.
-
To send all labels to your designated printer, select ACTIONS > Print Labels.
Your browser's print preview opens.
-
-
Select Print.
Your browser's Print dialog opens.
-
Check the settings, and select Print.
Leap sends the queued labels to the printer.