Check In Items Using a Barcode File
You can check in items in Leap by uploading a file of item barcodes. This method can be used in any check-in mode: Normal, Bulk, Inventory, In-House. The barcode file must be in one of the following formats: .txt., .csv, or .xls/.xlsx.
To check in item in Leap using a barcode file
- Open the Check In workform in any view: Normal, Bulk, In House, or Inventory.
- Select ACTIONS > Load from File.

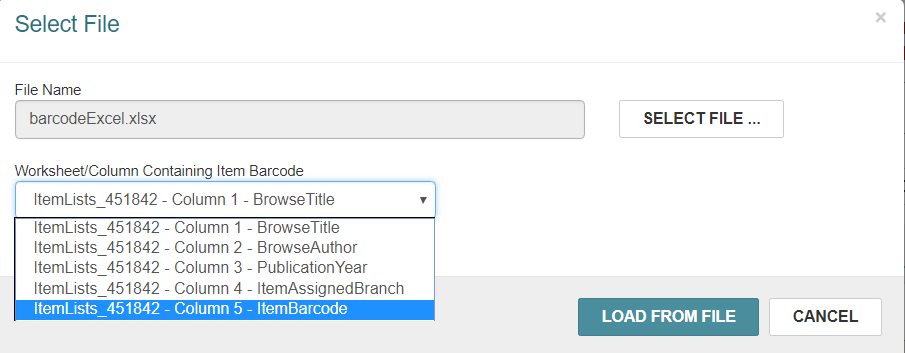
The Select File dialog appears.

- Select SELECT FILE.
The file explorer window appears where you can browse to find the .txt, .csv, or .xls/.xlsx file.
- Select the file to load.
If the selected file is in .xls or .xlsx format, the Worksheet/Column Containing Item Barcode field appears on the Select File dialog.

- If the file is in Excel (.xls or .xlsx) format, select the column that contains the item barcode.
- Select LOAD FROM FILE.
Rows are added as each item is loaded, and a message or dialog appears for each item that has a condition affecting its check-in. If the item record is not found, a No matching item record was found. Check the item barcode error message appears, and the item is skipped. The following types of message and dialogs may also appear as you are checking in items:
- Overdue Fine
- Resolve Billed Item
- Item is Withdrawn
- Item is In-Transit
- Item is Blocked
Note:
If you upload a file that contains multiple items with conditions that produce a message or dialog, you must respond to each message or dialog individually.